Product images have become a critical component of e-commerce marketing. With more brands competing for attention online, creating standout product photography is essential to connecting with customers. This requires going beyond conventional shots to innovative and compelling visuals that showcase products creatively.
The world of product photography is rapidly evolving. As customer expectations rise, brands need truly unique images that grab attention and drive engagement. Unfortunately, many still rely on traditional top-down shots on bland backgrounds. To cut through the noise, marketers must leverage unconventional perspectives, thoughtful styling and context, and unexpected edits that highlight products in memorable ways.
This article will provide product photography tips to capture standout product images that wow customers and outperform the competition. We’ll cover clever techniques related to product photography setup, lighting, angles, usage scenarios, backgrounds, compositions, and how to edit product photos. With some creativity and the willingness to experiment, you can dramatically transform your product photos from dull to daring.

Tip #1: Setting the Stage for Innovation
Crafting innovative product shots starts with choosing an optimal product photography setup. Most photographers habitually use formal studios with consistent lighting and backdrop set-ups. However, atypical spaces with dynamic lighting or intriguing architecture can inspire more exciting results.
Finding the Perfect Space
Consider shooting products outdoors to utilize natural light. Experiment with different times of day to leverage beautiful golden hour luminosity or create striking high-contrast images. Seek out unexpected urban locations, picturesque landscapes, or residential settings to imply lifestyle usage. Avoid distracting backgrounds by using shallow depth of field or angles that obscure the surrounding environment.
Getting creative with indoor locations works too. Instead of a sterile photo studio, opt for a cafe, hotel lobby, or modern office space filled with visual interest. Convert unconventional areas like alleys, stairwells, or pools into captivating image backgrounds. Explore lighting photography products with unconventional fixtures like string lights or neon signs rather than staid soft boxes.
Camera Settings for Creativity
Leveraging specific camera functionalities can further enhance photographic creativity. When shooting products in low light scenarios, use a lower f-stop like f/1.8 or f/2.8 to widen the aperture for clarity while softening distracting backgrounds. Additionally, select the lowest native ISO setting possible for optimal image quality and reduced noise.
Slow down the shutter speed to intentionally blur motion for a dynamic sense of action around products. Alternatively, freeze fast motion by increasing the shutter speed. When applicable, switch to manual focus mode combined with a magnified live view to precisely control focus on product details.
Getting comfortable with fully manual shooting allows you to exercise maximum creativity. However, leveraging priority modes like aperture or shutter priority as needed can still provide helpful automation while honing photography skills and learning how to take good product photos.

Tip #2: Mastering the Light
Lighting can make or break product photos. For truly exceptional images, move beyond front flash or basic three-point lighting. Experiment with light quality, quantity, direction, and color for dramatic effects that spotlight merchandise.
Quality and Direction of Light
Strive for evenly diffused, flattering illumination. Positioning the product near a window provides excellent wraparound natural light. To fill uneven shadows, supplement with bounce flash or reflective surfaces like whiteboards or silver reflectors.
When incorporating artificial lighting, use modifiers like soft boxes, umbrellas, or diffusion sheets. Mixing strobe lighting with constant sources like LED or fluorescent bulbs also generates dimension.
Purposefully allow light to hit products from artistic angles to create intriguing shadows or highlights. Side lighting generates depth and contours, while dramatic backlighting lends visual intrigue. Reflect light off colored gels or textured surfaces to impart hues and patterns. Pay close attention to catch lights in a model’s eyes to add life.
Experimenting with Lighting Setups
Move beyond traditional three-point and split lighting by completely rethinking positions. To impart a conceptual, editorial edge, place all lights on one side. Lens flare effects cleverly hide distracting backgrounds. Additionally, it builds height by lighting only the top while gradually fading to shadow below.
Rim lighting outlines a product’s shape in vibrant color. Under-lighting from below eye level creates a sense of drama. Use gobos, flags, barn doors, and snoots to precisely control light direction and spill. In post-production, dodge and burn strategically to further guide the viewer’s eye.
Getting creative with practical lighting like strings, desk lamps, or mini projectors adds intrigue while enhancing the scene’s visual narrative. Shoot products in unusual conditions like rain, smoke, or complete darkness using a sole flashlight, slow shutter speeds, and lighting tools to generate stunning environmental shots.

Tip #3: Showcasing Product Usage
Displaying products as if in real environments conveys value in use while allowing customers to envision possession. When products have functional or aspirational benefits, illustrated in memorable lifestyle scenarios.
Lifestyle and Usage Imagery
Thoughtfully style merchandise as it would realistically be configured by genuine proprietors. For example, an attractive table setting with floral arrangements and tableware artistically displays serveware. Showcasing tools or equipment being actively used also cements purpose and worth.
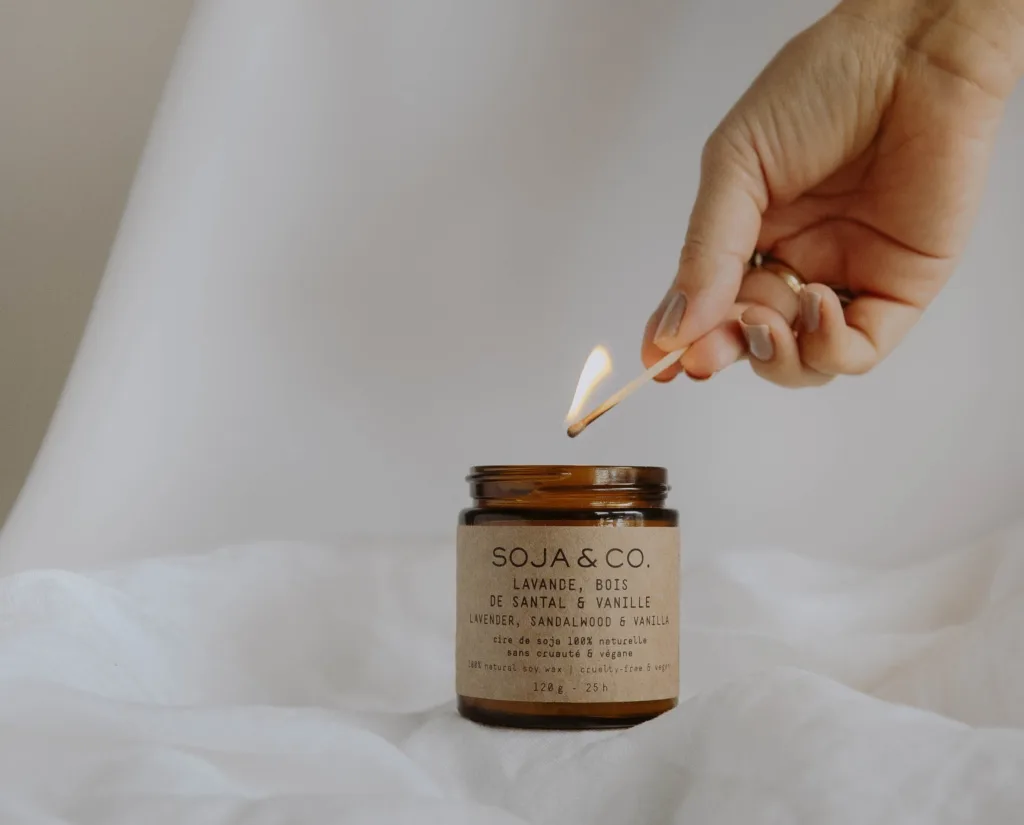
Make use of models, but avoid overly posed shots. Instead, focus on candid scenes appearing organically within complementary situations and surroundings. Alternately, it implies human activity and ownership through details like partially consumed beverages, fresh flowers, or comfortable furniture arrangements.
When featuring apparel and fashion items, combine tasteful environmental shots with a model walking energetically, dancing, laughing, or otherwise emotionally engaging with the product. These types of authentic moments best represent adaptable style, fit, and implausible aspirations.
Before-and-after and Instructional Imagery
Some products deliver transformative benefits that powerful before-and-after photographs best demonstrate. Household cleaners capture items in a dirty state being restored to gleaming glory. Show electronics being used to organize cluttered workspaces or garments pressed and refreshed from wrinkled heaps.
Step-by-step instructional product images that showcase usage mechanics also provide helpful visual education. Aligning ingredients for recipes, routing cables correctly, or layering components intuitively explains functionality. Icons, arrows, and graphics clarify assemblies or mechanisms not easily apparent from static images alone. This practical imagery reassures customers that they can leverage products proficiently.
Tip #4: The Art of Angles Candid and Perspectives

Most product photos stick to head-on-centered compositions or simple side views. Challenge norms by capturing goods from unexpected vantage points for refreshing new angles guaranteed to mesmerize customers.
Playing with Angles
Shoot from below, above, or even through merchandise to create enticing new arrangements and dimensional views. Dramatically foreshorten proportions with wide-angle lenses. Compress space byexaggerating front-to-back depth with telephoto optics. Adjust the tripod or ladder height incrementally to uncover optimal geometry, capitalizing on leading lines and asymmetry.
Getting hands-on and holding products allows for more flexibility. Provide stability and avoid shaking by mounting cameras on jibs, cranes, or drones and triggering remotely. This equips capturing products mid-air as if floating, hovering against backgrounds hard to reach normally.
Choosing the Right Backgrounds
Backgrounds contextualize products and should enhance, not distract. Crisp, solid-color backdrops keep attention focused squarely on hero merchandise by minimizing visual noise. Still, when relevant, settings implying actual usage strengthen value.
Therefore, selectively interject environmental elements that logically complement products. For cookware, use kitchen tables with ingredients scattered artfully. Display electronics on contemporary office surfaces, surrounded by devices and notebooks. Show fitness apparel within gym environments or tools being actively used outdoors. This grounds products within likely native habitats.
When opting for photo studio simplicity, exploit colors, shapes, and textures to underscore product traits. Soft textiles, weathered wood, and natural stone impart premium organic feels, while sleek metal, concrete, and glass telegraph cutting-edge modernity. To add visual interest and make the product stand out, consider using backgrounds like:
- Black and gold background
- Black and white background
- Red and black background
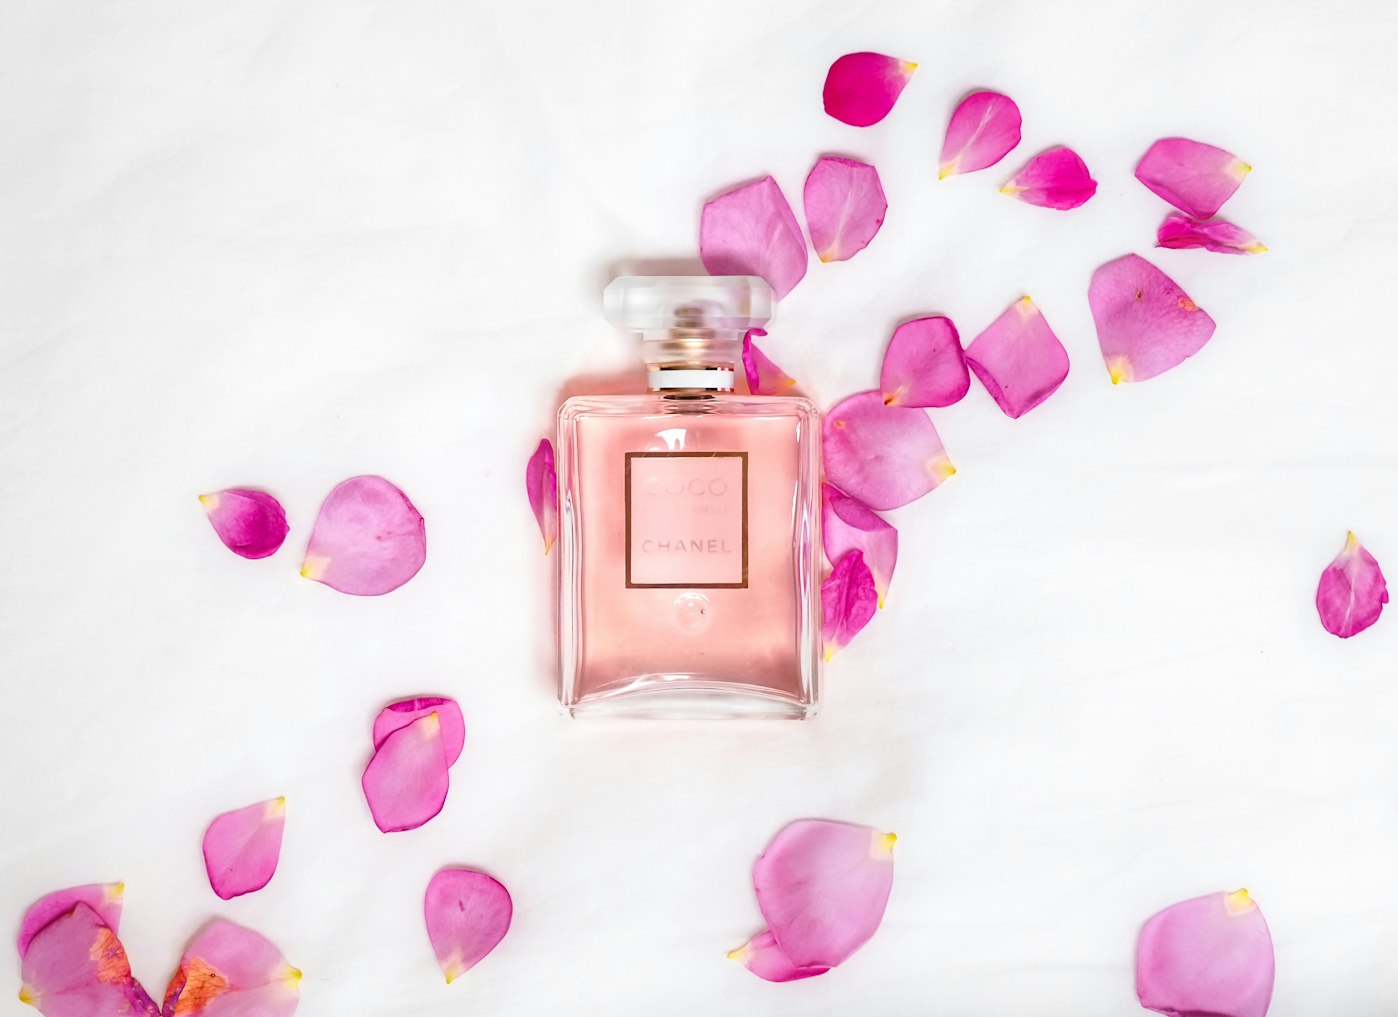
- Pink Background
- Yellow Background
- Green Background

Tip #5: Editing for Impact
Post-production editing performs the vital task of perfecting all photographic elements into an impactful narrative, showcasing products in their best possible light. Even basic adjustments make a tremendous difference, while more ambitious effects set images apart.
Color Accuracy and Composition
After importing photos, first scrutinize their technical qualities. Precisely white balance to neutralize color casts from ambient lighting Target ideal brightness, contrast, saturation, and sharpness appropriate for merchandise categories based on realism or stylization goals.
Cropping creates more effective compositions by eliminating unnecessary negative space or distracting surplus background. Realign crooked angles or straighten distorted perspective. Further polish and selectively dodge and burn to draw eyes towards hero regions.
Experimenting with Editing Tools
Take editing further with unconventional techniques that generate an added wow factor. Convert traditional images to black and white for timeless sophistication. Boost color isolation and reminisce about editorial fashion spreads. Introduce lens flares, light leaks, or film grain for an ethereal atmosphere.
Incorporate textural overlays like weathered paper or subtle grunge elements. Use frequency separation to individually process texture details. Try motion blur to instill energy. Overlay separate exposures for HDR hyperrealism. For 3D representations, leverage cutouts to artfully separate products from settings. With practice, even complex edits will unlock creativity.
Leveraging AI in Product Photography
The evolution of artificial intelligence (AI) in photography marks a significant milestone in the realm of digital imagery, particularly in product photography. This technological advancement has revolutionized the way products are captured and presented, offering a myriad of benefits that were once unattainable.
AI in photography has transformed the landscape in several key ways:
- Efficiency: AI-driven tools can process and edit photos at a speed unmatchable by human hands, significantly reducing the time from shoot to publication.
- Consistency: AI product photography ensures a consistent quality and style across all images, which is crucial for brand identity.
- High-Quality Images with Minimal Input: Advanced algorithms can now generate high-resolution images with minimal human intervention, ensuring top-notch quality with less effort.
Related Articles:
- Must-Try Backgrounds and Ideas for Your Next Product Image
- Best AI Image Tools Every E-commerce Business Should Know
- Image to Video Convert Online: Top 5 Free Tools
Conclusion
Elevating product photography above convention requires embracing innovative techniques spanning locations, gear, lighting, angles, context, settings, and post-production. But thoughtfully honing images to spotlight merchandise at its aspirational best delivers a tremendous competitive advantage.
With these tips, brands can dramatically enhance visual storytelling, connect emotionally with audiences, and convey products’ value in compelling new ways. So approach product photography as an art deserving of creative investment. Master technical expertise while also freely experimenting to uncover inspired new directions guaranteed to mesmerize customers. The results will undoubtedly drive measurable commercial success.
Transform your Amazon product listings with ProductScope’s AI-powered photography backdrops! Imagine your product anywhere – a sunlit breakfast table, a cozy nook, or a mountain summit. Just describe your dream setting, and our AI Photoshoot feature brings it to life in stunning images, at a fraction of a professional photoshoot’s cost. Elevate your brand now!
Sign Up for ProductScope AI Today!
FAQs
What Are Some Unconventional Techniques for Product Photography?
Unconventional product photography techniques include using unique angles, creative lighting, and incorporating unexpected elements or backgrounds. Experimenting with macro photography or playing with shadows and reflections can also yield distinctive images.
How Can I Make My Product Photos Stand Out?
To make product photos stand out, focus on creative composition, effective use of lighting, and showcasing the product in a way that highlights its best features. Utilizing vibrant colors, dynamic angles, and adding context through lifestyle shots can also enhance appeal.
What Is the Best Lighting for Product Photography?
The best lighting for product photography often involves soft, diffused light to reduce harsh shadows and highlight the product’s details. Natural light is ideal, but if unavailable, using softbox lights or LED panels can create a similar effect.
How Important Is Background in Product Photography?
The background in product photography is crucial as it sets the tone and context for the product. A simple, uncluttered background focuses attention on the product, while a creatively chosen backdrop can add to the story and appeal of the product.
Can Editing Enhance Product Photography?
Yes, editing can significantly enhance product photography. It can be used to adjust lighting, color balance, and sharpness, as well as to remove distractions. However, it’s important to keep edits realistic to ensure the product is accurately represented.

