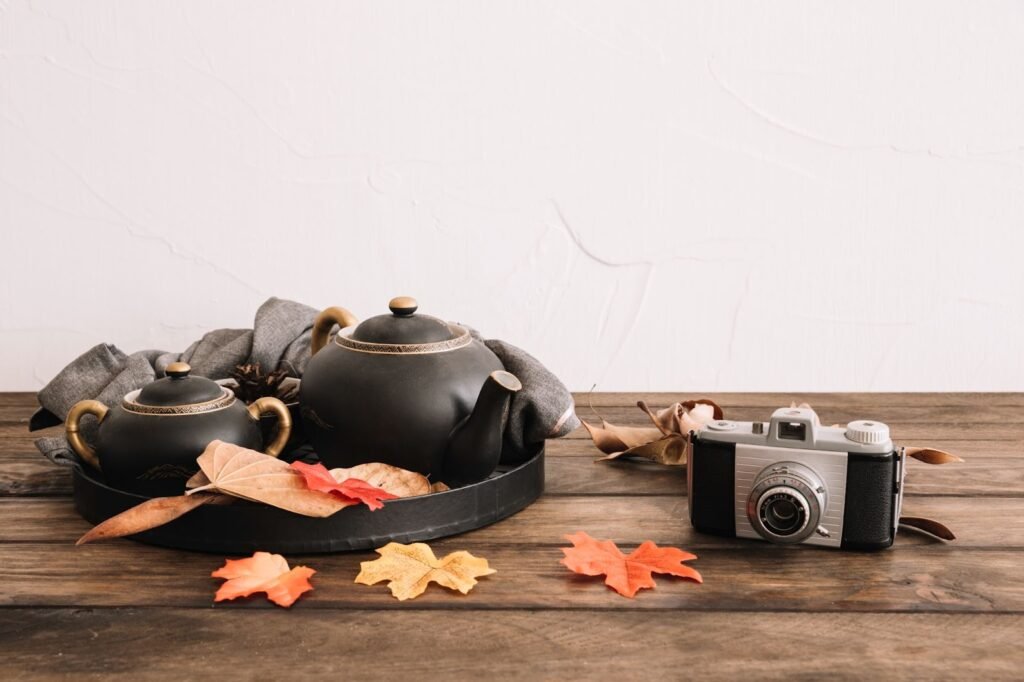
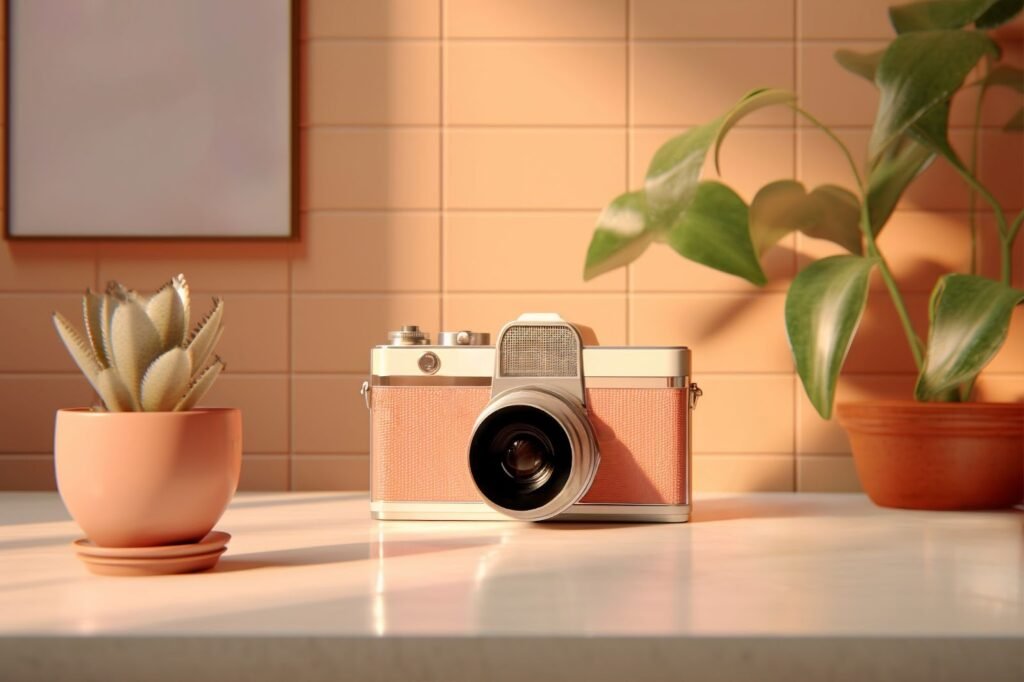
Diving in the field of e-commerce, product photography props play a pivotal role in capturing attention and driving sales. The strategic use of product photo props for photography can transform ordinary images into compelling visual narratives that resonate with potential customers. This article delves into the significance of product photography props, offers practical tips for their effective use, and introduces ProductScope’s Photoshoot tool—a revolutionary solution for creating stunning product images.
The Importance of Product Photography Props

Incorporating props for photoshoot sessions serves multiple purposes:
- Contextualization: Props provide context, helping customers envision the product in real-life scenarios. For instance, a coffee mug photographed with a book and reading glasses suggests a cozy reading environment.
- Aesthetic Enhancement: Well-chosen product photography accessories can enhance the visual appeal of the product, making it more attractive to potential buyers.
- Brand Storytelling: Props can convey a brand’s story and values, creating a deeper connection with the audience.
Tips for Selecting and Using Product Photography Props
- Align with Brand Identity: Choose props that reflect your brand’s personality and values. Consistency in styling reinforces brand recognition.
- Maintain Balance: Ensure that props complement rather than overshadow the product. The product should remain the focal point of the image.
- Use Props to Indicate Scale: Including familiar objects can help convey the size of the product, aiding customer understanding.
- Consider Color Harmony: Select props like acrylic risers or solid backdrops in complementary colors to create a cohesive aesthetic that emphasizes your product.
- Experiment with Textures: Incorporating different textures can add depth and interest to the photograph.
- Keep It Simple: Avoid clutter. A minimalist approach often leads to more impactful imagery.
Trending and Specialized Props
Staying current with photography trends can make your images stand out.
- Acrylic Props: These modern, transparent pieces offer a sleek, professional aesthetic.
- Mirror Props: Introduce depth and intrigue with subtle reflections that elevate visual storytelling.
- Artificial Plants: Achieve a natural look without the hassle of live plants.
Common Product Photography Accessories

- Backgrounds: Solid color, textured, or fabric backdrops provide a versatile canvas for various styles. Textured backdrops, like wood or fabric, add depth and character, while solid colors keep the focus on the product.
- Reflectors and Diffusers: These tools help control lighting, reducing harsh shadows and highlights.
- Geometric Shapes and Risers: Cubes, cylinders, and other shapes can elevate products, adding dimension to the shot.
- Natural Elements: Incorporating plants, stones, or wood can introduce an organic feel to the images.
Enhancing Photos with Editing Techniques
Post-processing is crucial in refining product images. Techniques such as adjusting brightness and contrast can enhance the overall look. For instance, learning how to darken a photo can add mood and focus, while understanding how to add a vignette to a photo can draw attention to the product by subtly darkening the edges of the image.
Introducing ProductScope’s Photoshoot Tool

Image Source: productscope.ai
While traditional photography methods are effective, they can be time-consuming and costly. ProductScope’s Photoshoot tool offers an innovative solution by leveraging AI technology to create stunning product images effortlessly.
Key Features
- AI-Powered Background Generation: Transform plain product images by generating custom backgrounds that align with your brand’s aesthetic.
- User-Friendly Interface: No need for advanced photography skills; the intuitive platform allows for easy navigation and use.
- Cost and Time Efficiency: Eliminate the need for expensive photoshoots and extensive editing, saving both time and resources.
- Customization: Tailor images to specific marketing campaigns or platforms, ensuring consistency across all channels.
Step-by-Step Guide to Using ProductScope’s Photoshoot
Creating stunning product images with props for photography is now easier than ever with ProductScope’s Photoshoot tool. Here’s a detailed tutorial to help you get started:
Step 1: Create an Account on ProductScope.ai
- Visit ProductScope’s website and click on Sign Up.
- Fill in your details and create a secure password.
- Confirm your email to activate your account.
Step 2: Upload Your Product Images
- Log in to your account and navigate to the Photoshoot tool in the dashboard.
- Click on the Upload Images button.
- Drag and drop your product images or select files from your computer.
- Ensure that your product images are clear and free of clutter for the best results.
Step 3: Choose Your Props and Background Settings
- Once your image is uploaded, choose from the pre-designed props for photoshoot options. These include:
- Natural elements (plants, wood, stones)
- Geometric shapes (cubes, cylinders)
- Themed setups (festive, minimalist, or industrial)
- Select a suitable background:
- Use the AI-powered background generator to automatically create a setting that matches your brand’s aesthetic.
- Alternatively, upload a custom background.
Step 4: Customize Lighting and Shadows
- Adjust lighting settings directly in the tool. Use the slider to simulate studio-like conditions, including soft or harsh lighting.
- Add or modify shadows to create depth and realism.
- Experiment with the vignette effect to subtly darken the edges of your photo, focusing attention on the product.
Step 5: Preview and Edit
- Click on the Preview button to see the image with the selected props and settings.
- If adjustments are needed:
- Use the cropping tool to refine the composition.
- Modify the brightness, contrast, or saturation as necessary.
- Learn how to darken a photo by decreasing the brightness slightly for a dramatic effect.
- Fine-tune the vignette effect to highlight your product.
Step 6: Export Your Image
- Once satisfied with your edits, click Save & Export.
- Choose the desired resolution and format (JPEG, PNG, etc.) for your platform.
- High-resolution images are ideal for print, while compressed files work well for websites.
Step 7: Publish and Share
- Use your new product images for social media, e-commerce platforms, or marketing campaigns.
- Enjoy the professional results that showcase your product with perfectly arranged product photography accessories.
Tips for Getting the Best Results with ProductScope
- Experiment with Themes: Try different combinations of product photography props to discover what resonates best with your audience.
- Consistency is Key: Use similar props and settings for all your products to maintain a cohesive brand identity.
- Analyze Performance: Track the impact of your new images on customer engagement and sales.
Conclusion
The strategic use of product photography props and product photography accessories is essential in creating compelling images that captivate and convert. By thoughtfully selecting and arranging props, and utilizing advanced tools like ProductScope’s Photoshoot, brands can produce high-quality visuals that stand out in a crowded marketplace.
Incorporating these Product Photography tips and leveraging innovative solutions will not only enhance your product images but also streamline the process to edit product photos, ensuring your brand consistently presents itself in the best possible light.
Sign Up for ProductScope AI Today!
