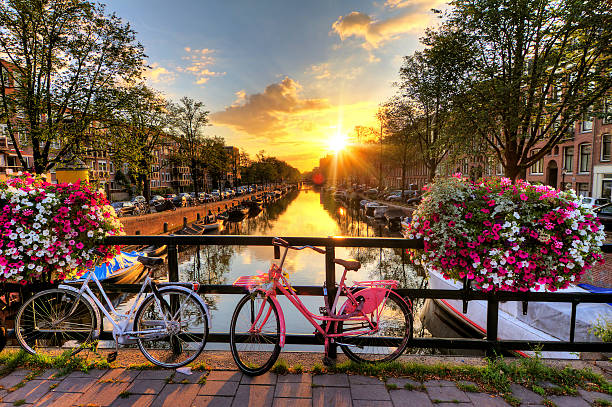
Creating an HDR photo involves blending multiple exposures of the same scene to capture a wider range of light and detail. Start by taking several shots at different exposure levels: underexposed, overexposed, and a neutral shot. Use software like Adobe Lightroom or Photoshop to merge these images into one HDR photo.
Adjust settings like contrast, highlights, shadows, and vibrance to enhance details in both bright and dark areas. HDR images can bring out intricate textures and dynamic lighting, giving photos a more vivid, lifelike quality. Proper use of HDR can turn a basic shot into a stunning visual for e-commerce or social media.
Why Create An HDR Photo?

High Dynamic Range (HDR) photography is an effective technique used to capture images with an expanded range of light and detail. It’s particularly useful in e-commerce and social media photography, where the goal is to present products in the best possible light. Whether it’s showcasing a product’s fine details or creating a vibrant and lifelike representation, HDR can elevate your images to new heights.
Here’s how to create HDR photos for e-commerce and social media, with step-by-step guidance, along with how to streamline your editing process using a tool like ProductScope AI.
Step-by-Step Guide to Creating HDR Photos

Step 1: Capture Multiple Exposures
The first step to creating an HDR photo is capturing several images at different exposure levels. Ideally, you’ll need a set of at least three photos: one that is underexposed, one that is overexposed, and one that is properly exposed.
This variation ensures that you capture details in both the shadows and highlights, which might otherwise be lost in a single exposure.
- Underexposed image: This shot captures the details in the bright areas of your scene without washing them out.
- Overexposed image: This shot captures the details in the darker areas of your scene that might be lost in a standard exposure.
- Properly exposed image: This is the middle ground, showing a balanced representation of the scene.
Use a tripod to ensure your shots are aligned perfectly, and enable your camera’s bracketing feature to automate this process if available.
Step 2: Merge the Images into HDR
Once you have the required exposures, the next step is to merge them into a single HDR photo. This can be done using software such as Adobe Lightroom, Photoshop, or other HDR processing tools.
The merging process will combine the best elements of each image to create a single photo with rich detail across all exposure levels.
In Adobe Lightroom or Photoshop, you can use the following steps to merge images:
- Select the photos you want to merge.
- In Lightroom, click Photo > Photo Merge > HDR.
- In Photoshop, use File > Automate > Merge to HDR Pro.
Both programs will align your images and blend them into one file, where you can adjust the intensity of the HDR effect using sliders.
Step 3: Adjust and Enhance the Image
After merging the images, fine-tuning is necessary to achieve the desired effect. This is where you can adjust contrast, brightness, shadows, and highlights to create an image with strong visual appeal.
For product photography, make sure that details like textures, colors, and fine lines are clear and vibrant, without looking unnatural or over-processed.
- Adjust contrast: Increasing contrast helps emphasize the difference between light and dark areas.
- Enhance details: Focus on the areas that need more clarity, like product labels, fabric texture, or fine lines.
- Tweak highlights and shadows: Make sure bright areas are not too harsh, and dark areas show sufficient detail.
Step 4: Refine for E-Commerce or Social Media
When editing HDR photos for e-commerce or social media, the goal is to ensure the product looks realistic and visually appealing. Pay attention to color accuracy, sharpness, and the overall composition of the image.
- Color correction: Make sure the product’s colors are true to life. Use tools like the white balance slider to ensure accuracy.
- Crop and straighten: Use the crop tool to focus on the product and remove distractions from the background. Ensure the photo is straight for a professional look.
- Add a background: If needed, replace the background to keep the focus on the product. Use a solid color, gradient, or even a lifestyle background that enhances the product.
Step 5: Use ProductScope AI for Quick Editing
Editing HDR images manually can be time-consuming, especially when working with large batches of product photos. That’s where ProductScope AI comes in handy. This tool is designed to streamline the image editing process, making it faster and easier to create high-quality product images.
ProductScope AI uses advanced AI algorithms to automatically enhance your product photos. It can improve color accuracy, sharpness, and detail while saving you time on manual adjustments. Whether you’re working on a single product or editing a bulk collection for your e-commerce site, ProductScope AI can automate repetitive tasks and provide consistent, professional results.
By using ProductScope AI, you can focus more on the creative aspects of photography and less on the time-consuming editing process. It’s an invaluable tool for businesses looking to optimize their image workflows and maintain high-quality visuals for e-commerce and social media.
Sign Up for ProductScope AI Today!
Conclusion
Creating HDR photos is a powerful way to enhance the quality of product images for e-commerce and social media. By capturing multiple exposures, merging them into one HDR photo, and making thoughtful adjustments, you can create images that highlight the best features of your products.
With tools like ProductScope AI, you can streamline your image editing workflow and achieve professional results faster. Whether you’re a small business or a large brand, implementing HDR photography and leveraging AI-powered tools will help you create stunning visuals that captivate your audience and drive engagement.
