
Saturation adjustment is a critical tool in photo editing, often used to enhance the intensity of colors in an image. It allows you to make colors appear more vibrant or muted, depending on the desired effect. Increasing saturation can bring out rich, bold colors, making the photo more dynamic and visually striking. On the other hand, decreasing saturation can create a subtle, softer tone, which is ideal for more neutral or minimalistic compositions.
Why Use Saturation on Photos
Saturation is particularly useful in social media photography, e-commerce product images, and branding visuals, where vibrant and eye-catching images can grab attention and engage viewers. For example, when creating an Instagram story background, enhanced saturation can make the content pop and draw in users. Similarly, for product photos, adjusting the saturation can highlight the product’s features more clearly, ensuring that it stands out in an online marketplace.
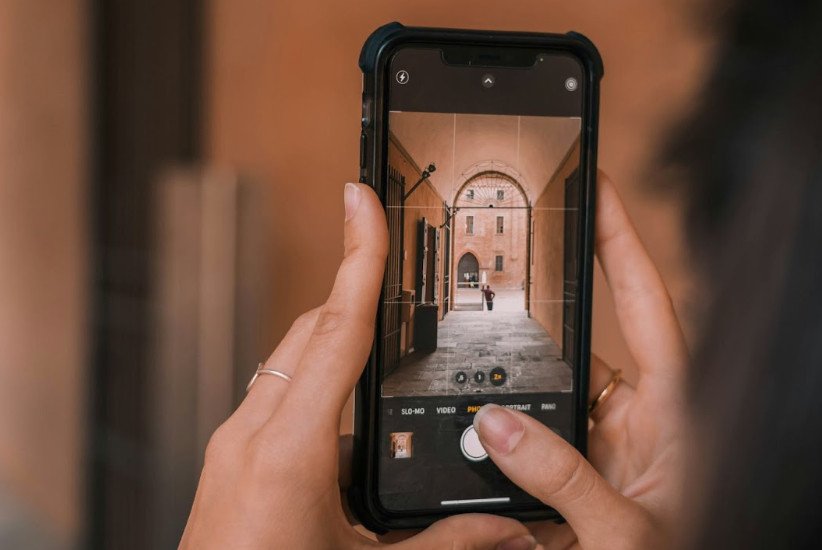
Steps to Adjust Saturation on iPhone
If you’re using an iPhone 14 series, this feature is easily accessible within the built-in Photos app. Here’s a step-by-step guide on how to adjust saturation in your photos.
1. Open the Photos App
Start by going back to the home screen of your iPhone by swiping up from the bottom of the screen. Once there, launch the “Photos” app to access your images.
2. Select a Photo

Navigate through your “Library” or “Albums” and choose the picture you want to edit.
3. Tap on Edit
Once your photo is selected, tap the “Edit” button located at the top of the screen. This will open the editing menu with several adjustment options.
4. Find the Saturation Tool
Scroll through the tools at the bottom until you find the “Saturation” option. The saturation tool controls the intensity of colors in your photo.
5. Adjust the Saturation
Tap the saturation icon to activate it. Use the slider at the bottom to either increase or decrease the color intensity. Sliding to the right will enhance the colors, making them more vivid, while sliding to the left will reduce the color, creating a more muted effect.
6. Finalize Your Changes
Once you’re satisfied with the adjustments, tap “Done” to save the changes to your photo.

How Saturation Impacts Your Photos
Adjusting saturation allows you to control how vibrant or subdued the colors in your image appear. By adding more saturation, you can make your image stand out, ideal for creating engaging visuals for platforms like Instagram. When preparing your photo for an Instagram story background, boosting saturation can make the content pop, making it more eye-catching to your audience.
Related Tip: How to Brighten a Photo
If your photo is lacking brightness, you can adjust this alongside saturation for optimal results. Within the same editing panel, look for the Brightness option. Increasing brightness helps make the photo more visible and lively, which pairs well with increased saturation when trying to enhance a photo’s overall look.
Final Thoughts
Adjusting the saturation and brightness in a photo gives you full control over its appearance, allowing you to create vibrant and engaging visuals that stand out. For social media platforms like Instagram, where eye-catching content is essential, learning how to add saturation to a photo or brighten it can significantly enhance the quality of your visuals. Incorporating tools such as AI product photography can further streamline this process, helping you achieve professional results quickly, ensuring your content resonates with your audience while saving time and effort in the editing process.
Sign Up for ProductScope AI Today!
FAQs
How to Add Saturation to a Photo?
To add saturation to a photo, use a photo editing software or app and locate the saturation slider. Increase the slider to enhance the intensity of the colors in your photo.
What is the saturation of a photo?
Saturation refers to the intensity and purity of colors in a photo. High saturation means colors appear vivid and rich, while low saturation results in more muted tones.
How do I change the saturation affinity of a photo?
In photo editing software like Affinity Photo, open the photo, go to the Adjustments panel, and select ‘HSL Adjustment’ (Hue, Saturation, Luminance). Use the Saturation slider to increase or decrease color intensity.
Does saturation make photos look better?
Increasing saturation can make photos look better by making colors more vibrant and appealing. However, too much saturation can make images look unrealistic and overly processed.
How to edit oversaturated photos?
To edit oversaturated photos, use a photo editing tool to access the saturation control. Decrease the saturation slider until the colors look more natural and pleasing to the eye.